How to Pin Emails in Gmail to the Top of Your Inbox
Can I Pin Emails in Gmail?
Have you ever received an important email without being able to reply immediately? We bet you have. The chances are that you ended up forgetting about it because a whole bunch of new messages pushed it to the bottom of your inbox.
Even though this article explains how to pin emails in Gmail, the popular email service actually doesn't have an equivalent of the pinning feature you may be familiar with from, for example, Outlook.com.
Does this mean that you've been misled, and it's actually impossible to pin an email in Gmail? Of course not! What it means is that some out-of-the-box thinking is necessary to achieve the desired results.
More specifically, you need to combine the Star or Important label with a non-default inbox view so that all messages that are starred or marked as important in Gmail are displayed before other messages. Read the next section of this article for step-by-step instructions on how to do just that.
Pin Emails in Gmail by Starring Them
Let's explain how to pin an email in Gmail using the Star label. You can also use the Important label if you want to, but you won't be able to follow the instructions below exactly as they are written.
Computer
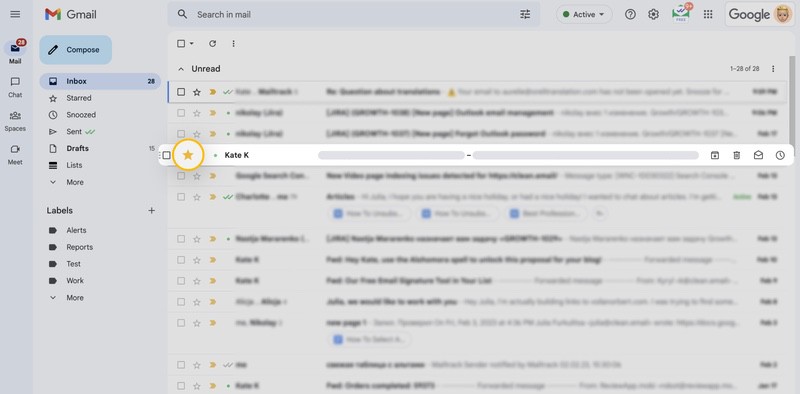
It takes just three simple steps to keep all Gmail starred messages on top:
- Open Gmail in your favorite web browser and log in to your inbox.
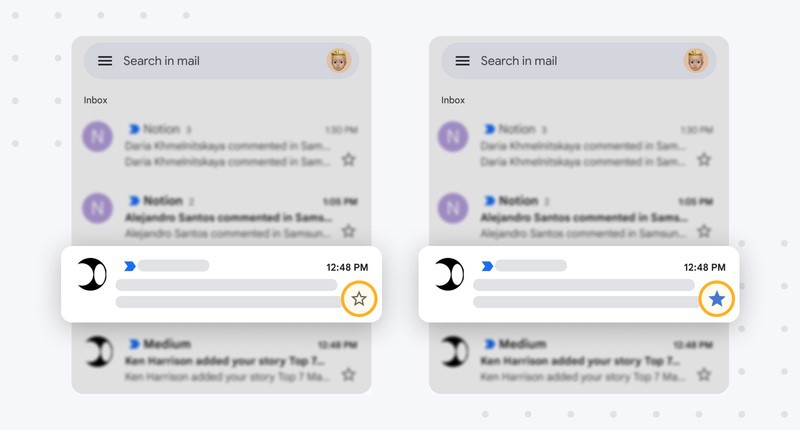
- Click the Star icon next to each message you want to pin to the top of your inbox.
- Click the Settings gear icon and select the Starred first Inbox type.
iPhone & iPad
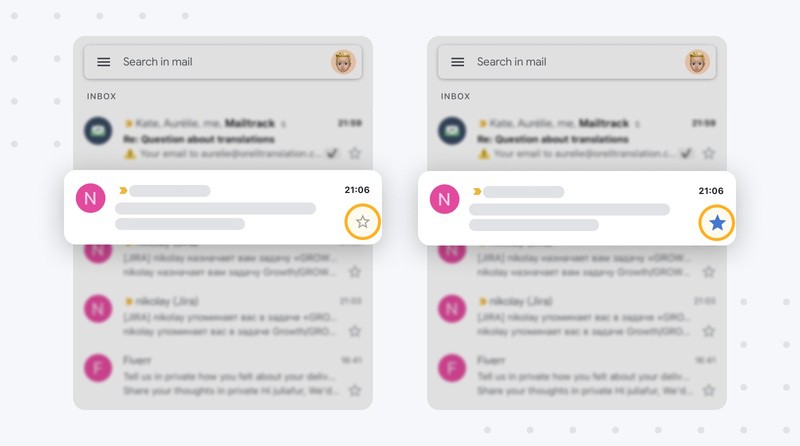
If you use the Gmail app on your iPhone or iPad, here is how to pin email in Gmail app on your smartphone:
- Launch the app on your mobile device.
- Tap the Star icon next to each message your want to be pinned.
- Open the Hamburger menu in the search bar and tap Settings.
- Navigate to the Inbox type section.
- Select the Starred first option, tap Done, and go back to your inbox.
Android
Android users can pin an email in the Gmail app using these steps:
- Launch the app on your Android device.
- Tap the Star icon next to each message you want to pin.
- Open the Hamburger menu in the search bar and tap Settings.
- Navigate to the Inbox type section.
- Select the Starred first option and go back to your inbox.
💡 Note: The only limitation of pinning emails in Gmail by starring them is that new emails from senders whose messages you've already starred in the past are not automatically starred as well.
In the next section, we describe how to overcome this limitation by marking future messages from important senders with a star automatically.
Automatically Pin Emails in Gmail by Starring Them
Assuming you've already configured your Gmail inbox to display starred messages first, the only thing you need to do to automatically pin messages from important senders is to always star them as soon as they arrive.
You can star Gmail emails that meet certain criteria with Gmail filter rules, but setting up a new filter rule for each important sender gets old quickly. That's why we recommend you use Clean Email, a popular third-party inbox organizer with many clever automation features, instead.
With Clean Email, it takes just one click to automatically pin messages in Gmail by starring them:
- Go to: https://app.clean.email/
- Connect the app with your Gmail account.
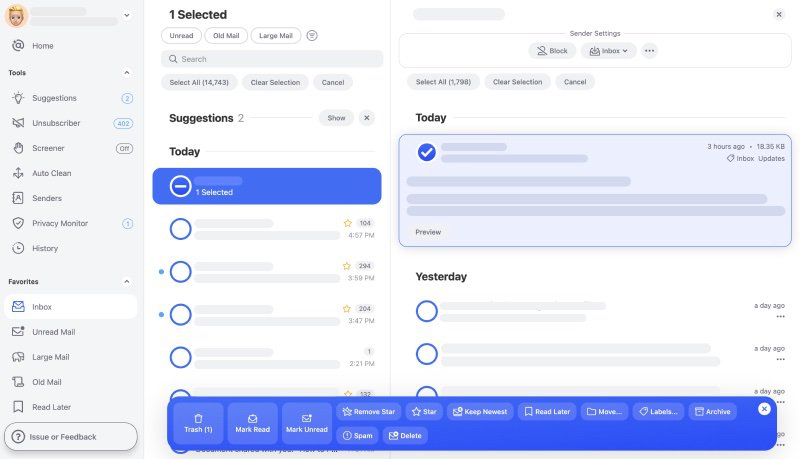
- Select the Senders tool.
- Choose the sender whose messages you want to automatically pin.
- Enable the Add Star to New Messages toggle.
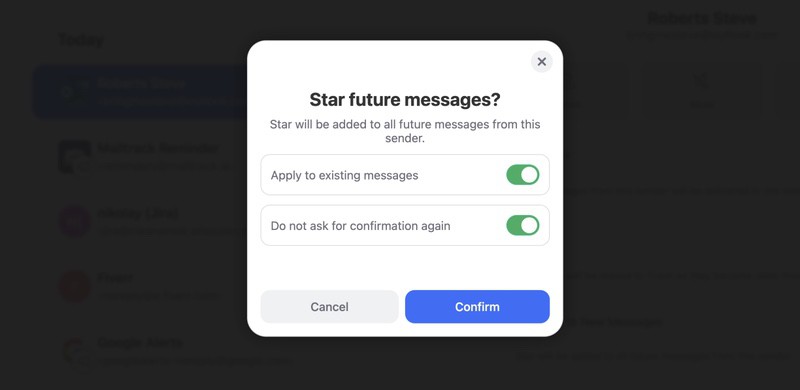
- You will be asked whether you wish to apply this action to existing messages or not. Click Confirm and the rule is set.

💡 Note: Clean Email also uses the ‘Pinned messages’ term; however, in the app, this term means that these messages will be never matched by any rule or action applied. You may think of pinned messages as ‘protected’ here (learn more about it from our Help section).

In addition to the web version of Clean Email, there's also a mobile version for Android and iOS/iPadOS devices, so you can take advantage of the Add Star to New Messages feature even when on the go. That's a huge advantage because the mobile version of Gmail can't be used to create rules.
How to Pin an Email in Gmail - FAQs
Can you pin emails in Gmail to the top?
Yes, you can pin emails in Gmail to the top by Starring them or marking them using the Important label and then enabling the Starred first or Important first inbox view.
Is it free to automatically mark future conversations with a star using Clean Email?
You can automatically mark future conversations with a star using Clean Email without paying for up to 14 days. To continue using the feature after the free trial period, you will need to subscribe to a paid plan.
Can I pin messages to the top by marking them as important?
Yes, you just need to select the Important first inbox view in Settings to ensure important messages always remain visible.
Can I automatically pin emails in Gmail using mobile?
Yes, Gmail emails can be pinned even on mobile devices using the same approach that combines the Star or Important label with a non-default inbox view. However, stars won’t be added to future messages from the selected senders. For this, you will need to set up an additional filter rule in Gmail or use the Clean Email’s Senders feature to mark messages as starred automatically when they arrive.
Thanks for Reading...
Masud Rana