Windows 11 22H2 version - Issue with Security Log Full
User gets "Security Log Full" error. We go in and clear and reset back to default to "Overwrite events as needed (oldest events first)
For some reason it is being changed to "Do not overwrite events (clear logs manually).
There are multiple threads on this, however no permanent fix. This is becoming a problem as we began to roll out Windows 11. There is no way we can clear the logs and reset for this many users.
5 Ways to Fix This Error to fix this issue are below
1. Turn on Event Overwriting

3. Expand Windows Logs.

4. Select Security.

5. Under the Actions menu, select Properties.

6. Check the box for Overwrite events as needed (oldest events first) option under the When maximum event log size is reached section.

When you turn on the overwriting logs option, this will allow the Event Viewer to overwrite the old logs, in turn saving the memory from getting full.
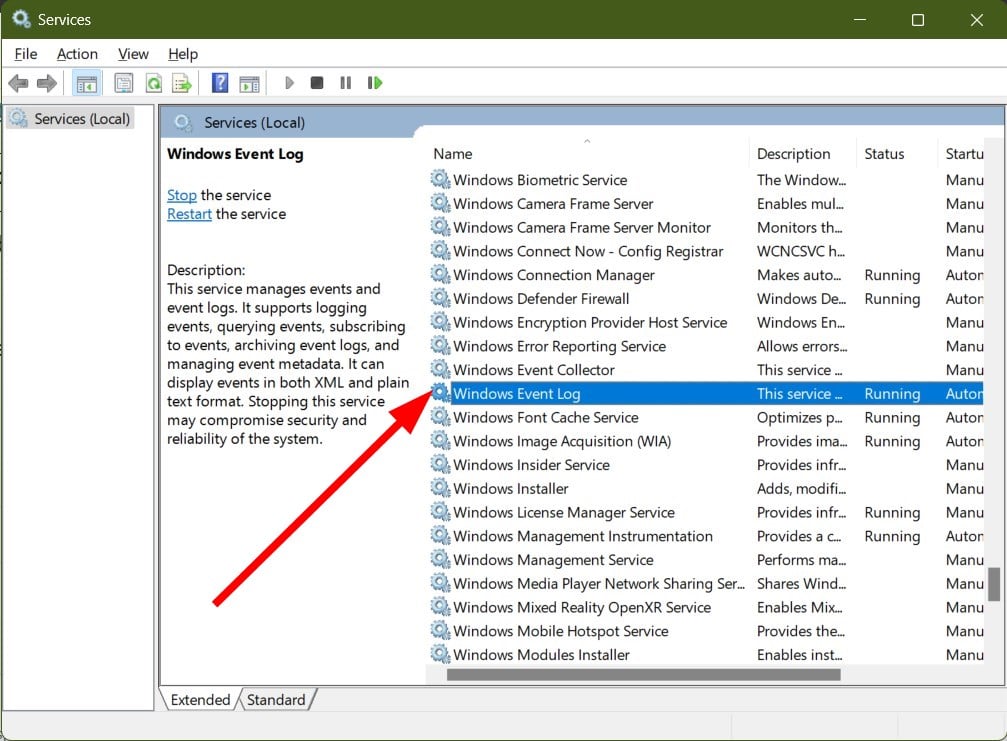
2. Restart the Event Viewer service

3. Locate Windows Event Log.

4. Right-click on Windows Event Log and select Restart.

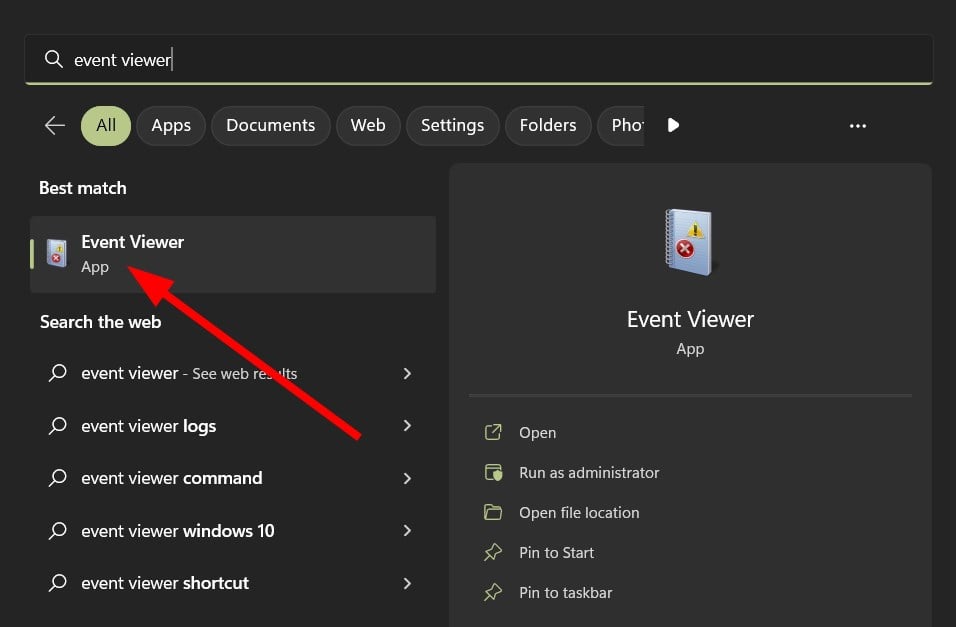
3. Enable Event Viewer
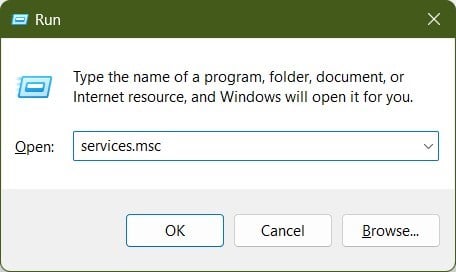
- Press the Win + R keys to open the Run dialogue.
- Type services.msc and press Enter.


6. Hit the Start button under Service status if not already done.

Often the Event Viewer service can get disabled because of a conflict with another service, which is why you might get The security log is now full – Event ID 1104 error.
In such a scenario, you can go to the Services menu, enable the Event Viewer service and see if this fixes the error.
4. Uninstall the recently installed Windows update
- Press the Win + I keys to open the Settings menu.

3. Click on Update history.

4. Under Related settings, select Uninstall updates.

5. Hit the Uninstall button for the recently installed update.

6. Click on Uninstall.

7. The update will get uninstalled.
5. Repair system files
- Open the Start menu by pressing the Win key.
- Open Command Prompt as an admin.

3. Type the below command and press Enter.

You can use the in-built SFC Scan tool to identify corrupt or missing system files and replace them with new ones.
While this is an easy process, often, SFC Scan isn’t that effective in fixing issues. In such cases, a dedicated system fixer could come in handy.
No comments:
Post a Comment