How to enable Telnet in windows 11 and Some troubleshooting
What is Telnet?
Telnet, as already mentioned, uses a client/server protocol to access remote servers. You can use Telnet to check connectivity to a remote server.
Moreover, you can make use of Telnet to run commands on a remote server. The output of this will be returned to the Telnet client.
It uses the Transmission Control Protocol/Internet Protocol (TCP/IP) networking protocol to create remote sessions. When connected to a remote system, users can log in to the remote computer by entering their username and password.
Since Telnet doesn’t offer a secure medium of communication with remote servers, you can use it if strong authentication and encryption over the network aren’t critical.
Telnet can be used for a variety of tasks. This includes carrying out activities on a server, including editing files, running various programs on a remote computer, or even checking mail, if you wish.
How can I install and enable the Telnet client on Windows 11?
1. Use Control Panel
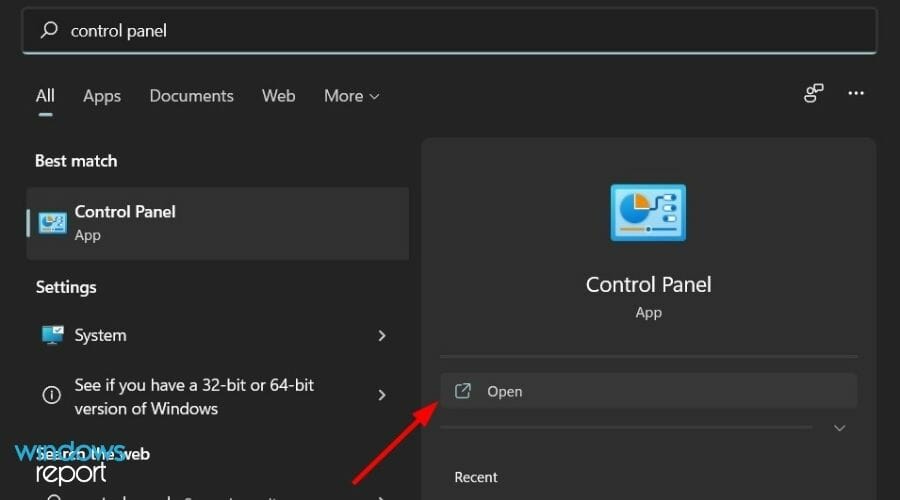
- Press the Start menu and search for Control Panel.
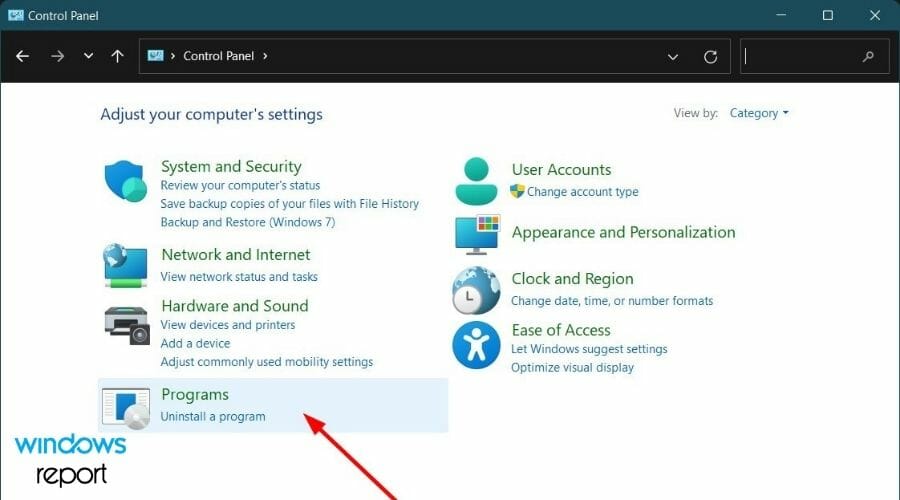
- Click on Programs (If you weren’t able to find Programs option, then change the View by option to Category).
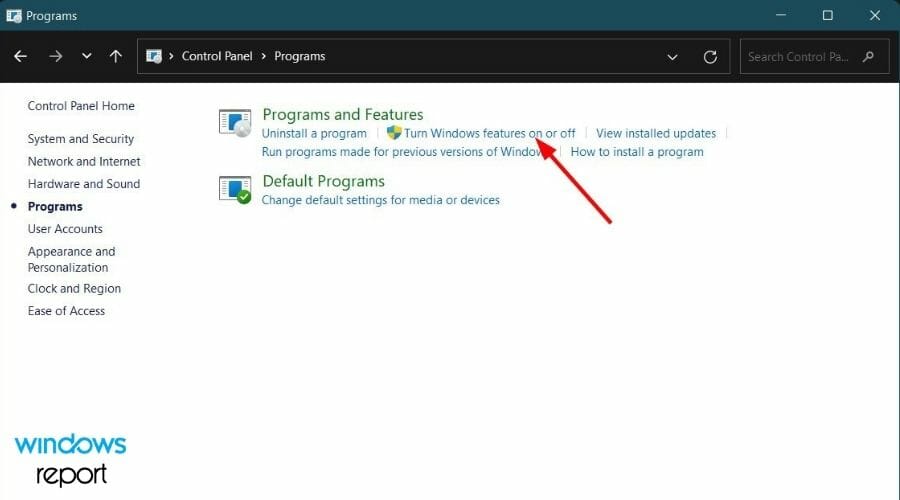
- Under Programs and features section, click on Turn Windows features on or off.
- Check the box beside the Telnet client, and hit OK to begin installation.
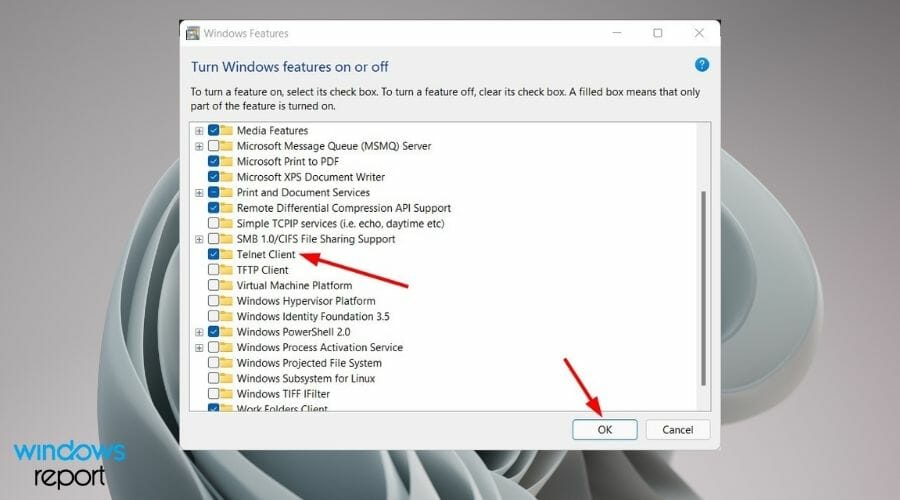
Your system will look for resources and install the Telnet client on your Windows 11 PC. To access Telnet, follow the simple steps below.
- Search for command prompt in the Start menu and open it as an administrator.
- Type in the following command and press Enter:
telnet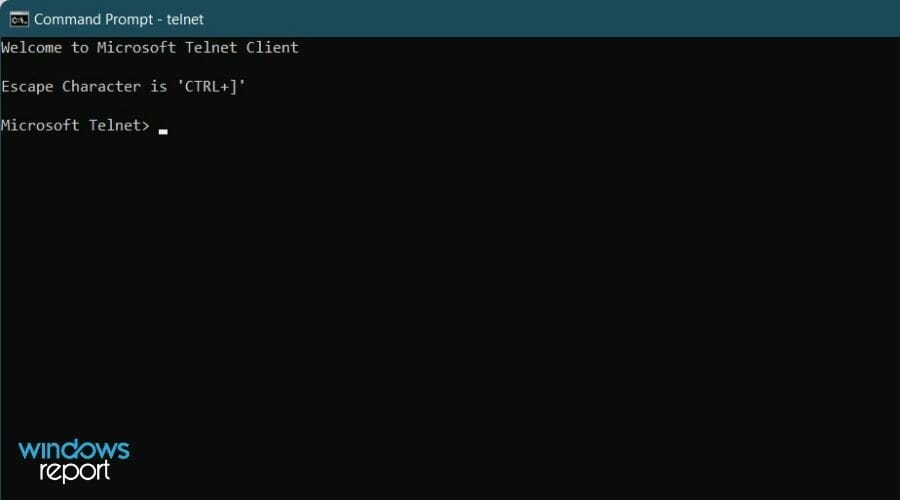
2. Use Command Prompt
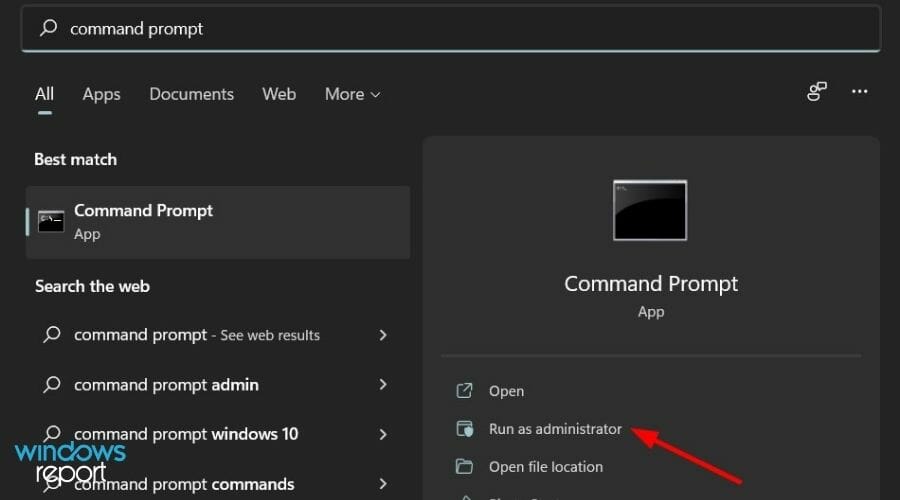
- Open the Start menu and search for Command Prompt. Run it as an administrator.
- In the newly opened command prompt window, type in the below command and press Enter:
dism /online /Enable-Feature /FeatureName:TelnetClient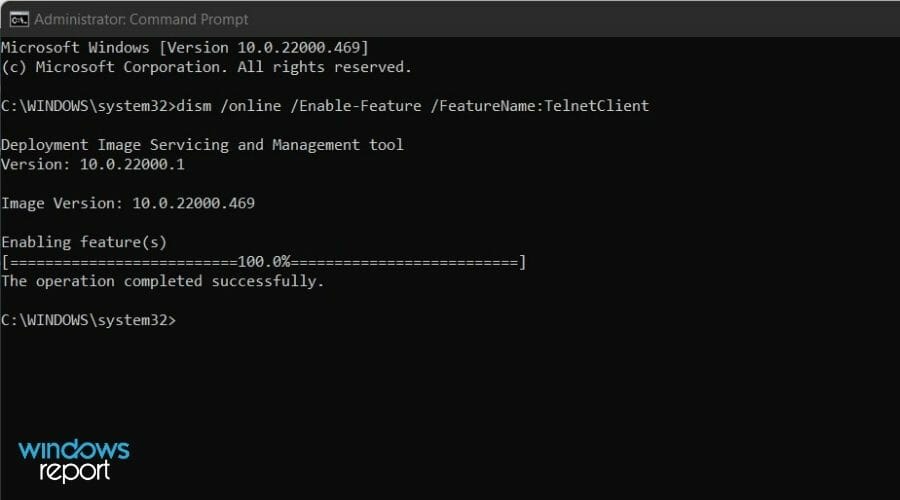
3. Use Windows PowerShell
- Open the Start menu and search for Windows PowerShell. Open it as an administrator.
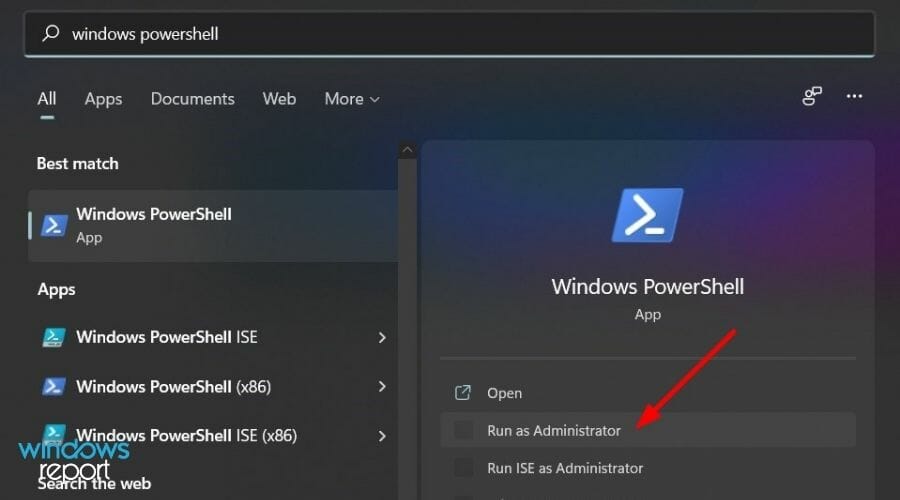
- In the newly opened Powershell window, type in the below command and hit the Enter button:
Enable-WindowsOptionalFeature -Online -FeatureName TelnetClient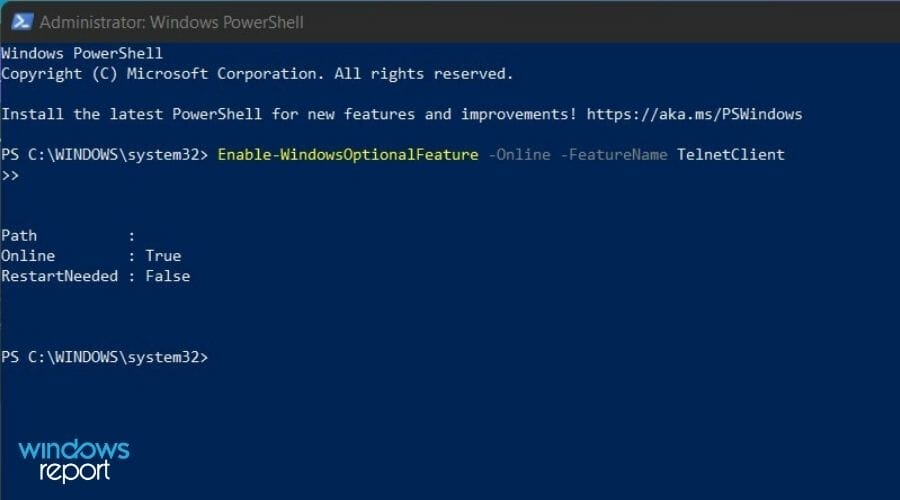
Your PC will scan for required changes and will remove the Telnet client from your Windows 11 PC. To be on the safe side, you can reboot your PC for the changes to take effect.
,,,
No comments:
Post a Comment